Black Talon Installation Guide
3 Step Installation
Lay deck boards and fasteners in place
As you install the deck, leave the boards you are not working on upside down. This will give you a surface to walk on.
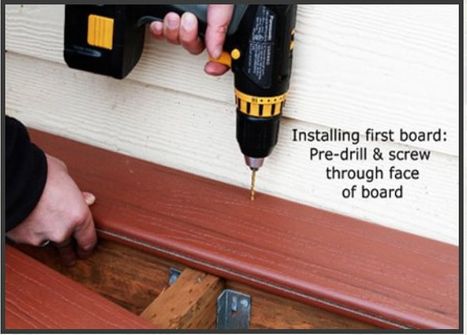
The first row of deck boards should be squared accurately to the substructure, pre-drilled and screwed through the face with 1-2 stainless steel screws per joist. The Smart Bit Pro Plug System with Tigerwood plugs is great for your anchor boards and hides your screws at the same time!
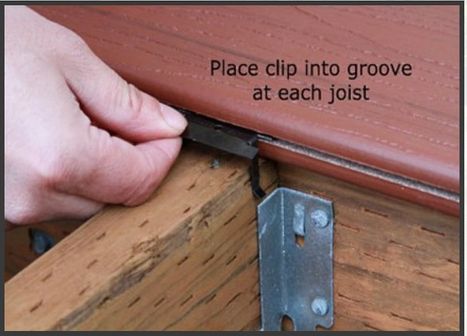
2-5 rows of deck boards (or the entire deck) can then be laid out on the joists with one clip on each joist. Do not screw the clips down as you go. Push everything in place with hand pressure and set up Bow Wrench(s) in preparation for squeezing a 2-5 row section tight. Natural bow should be placed with the belly out.
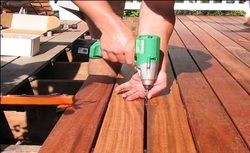
Secure fasteners to joists, applying pressure to your deck boards
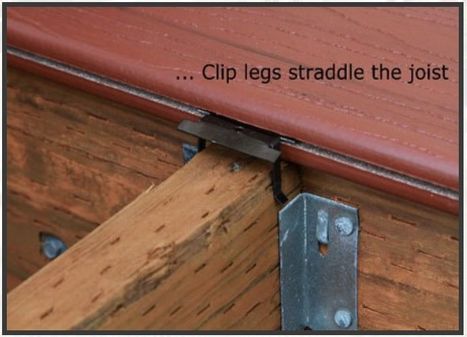
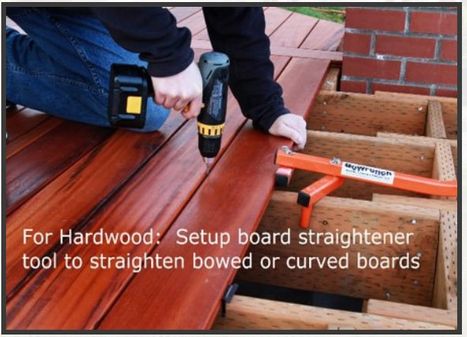
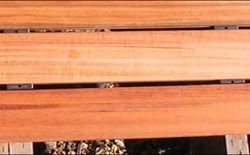
Using the Bow Wrench installation tool (or equal), apply pressure to slowly press the section together (be sure clips are in the grooves). Note: A 16-penny nail inserted into clip screw hole helps clip adjustment.
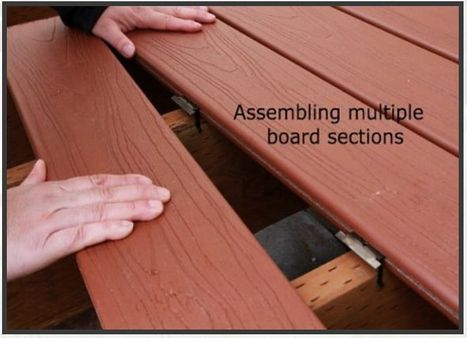
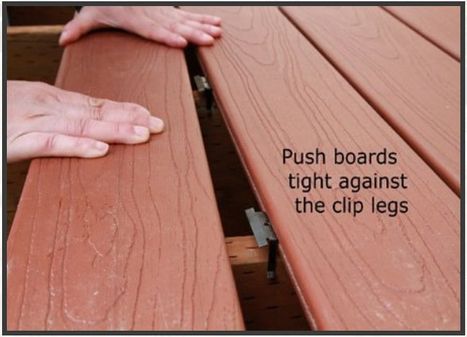
Before squeezing the section tight, be sure to tap the ends of the boards with a hammer to snug the ends up tight. Look the section over one more time for defects (which may need to be trimmed out), tight butt joints, boards tight to the clip legs assuring proper spacing, straight lines and color/aesthetics. Squeeze section TIGHT. Clips can then be secured to the joists with the stainless steel screws provided. The last row of clips, closest to the Bow Wrench, should not be tightened completely, only enough to hold the last board in place while laying out the next 2-5 rows.
Having multiple rows ahead of the Bow Wrench allows enough holding power on boards to resist natural bow in boards when the pressure is released to move to the next set of boards. If there is a lot of natural bow in the last board it may be necessary to provide temporary holding power by shooting a nail or staple at an angle into the joist to hold the board until the next set of boards are placed and the Bow Wrench is again in tension (some contractors prefer to use two Bow Wrench tools having the next set of boards in place before releasing the first tool). Boards must be square and tight. U
Install decking accessories
BUTT JOINTS
Butt joints should have 1 screw pre-drilled and centered as far from the end of the board as possible but still allow penetration into the joist. This can be done as you go or after the deck has been installed using the clip system. Countersink and plugging screw holes adds a beautiful furniture type finished look for a small amount of additional work using the Smart Bit Pro Plug System.
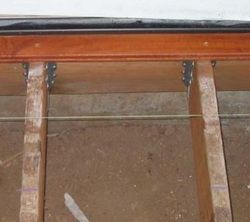
FASCIA
Fascia boards (or any other continuous face to face application) should be pre-drilled and face screwed 1” from board edge and through 1/8” or thicker lathe backing every 16” when installed against any flat surface to provide air space/moisture drain to back of board.
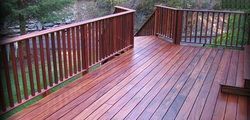
UV SEALANT (OPTIONAL) BlackTalon does not require any sealer if you are not concerned with preserving color and reducing fine ‘spider web’ face checking. Tiger Deck will go through a color transformation from its natural state to a deeper red tone and eventually silver. If you want to preserve the natural color there are many different products on the market.
If the customer elects to treat the decking material it will help to preserve the color of your wood. An end treatment, such as Anchor Seal, will reduce potential end checks and is one the best things we can recommend.
Click pictures below to enlarge