
Deck Clip Installation Guide
Deck Clip GW5 Installation Guide
Always use an exterior adhesive by applying a bead to each joist approximately 3/8” in width (always do small areas at a time so that your adhesive doesn't dry). This will not only give you more holding strength but it will also help prevent any squeaking from uneven joists. Your joists may seem level but changes in weather can cause movement down the road.
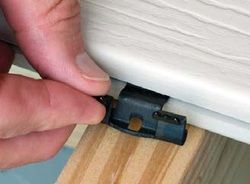
Your first board needs to be anchored down using screws and plugs. Once your first board is fastened down insert your Dexter Works GW5 Clip into the groove in the deck board at each joist.
NOTE: Install single leg side first.
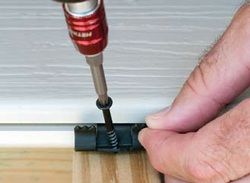
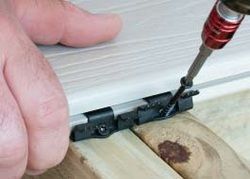
Fasten Dexter Works Clips to the joist using the deck screws provided. Slide the screw into the deck clip guide hole and secure at a 45° angle into the joist.
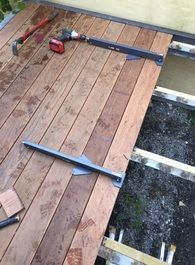
NOTE: Dexter Works PowerHand is an ideal tool to move deck boards into place and hold them tight as your clips are installed and secured.
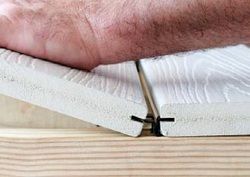
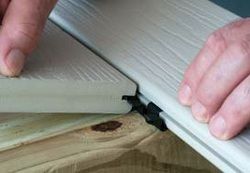
Begin the next board by sliding the board onto the double leg side of the deck clips. Make sure the new deck board is secured tightly against the deck clips for consistent gaping. Repeat steps 2 and 3.
Repeat steps 2, 3 and 4 until your last deck board.
Once you get to your last deck board, you must fasten it down as an anchor board. Use your screws and plugs to fasten this board down.
NOTE: Butt joints should be attached using two deck clips for additional strength. Using two clips at but joints will allow for any shrinkage, swelling or other movement that may occur. The second clip may be added by scabbing a runner board to the joist and attaching a deck clip.